Back in March of 2013 I made this. I had every intention back then to blog about it, but, I'm not sure, life happened or something. So here is how I made my Bible cover. (Please understand, it's been almost 2 years since I did this, so pardon any "your guess is as good as mine about what I did here" pictures--because there WILL be some of those!)
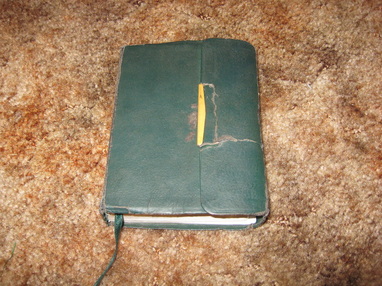
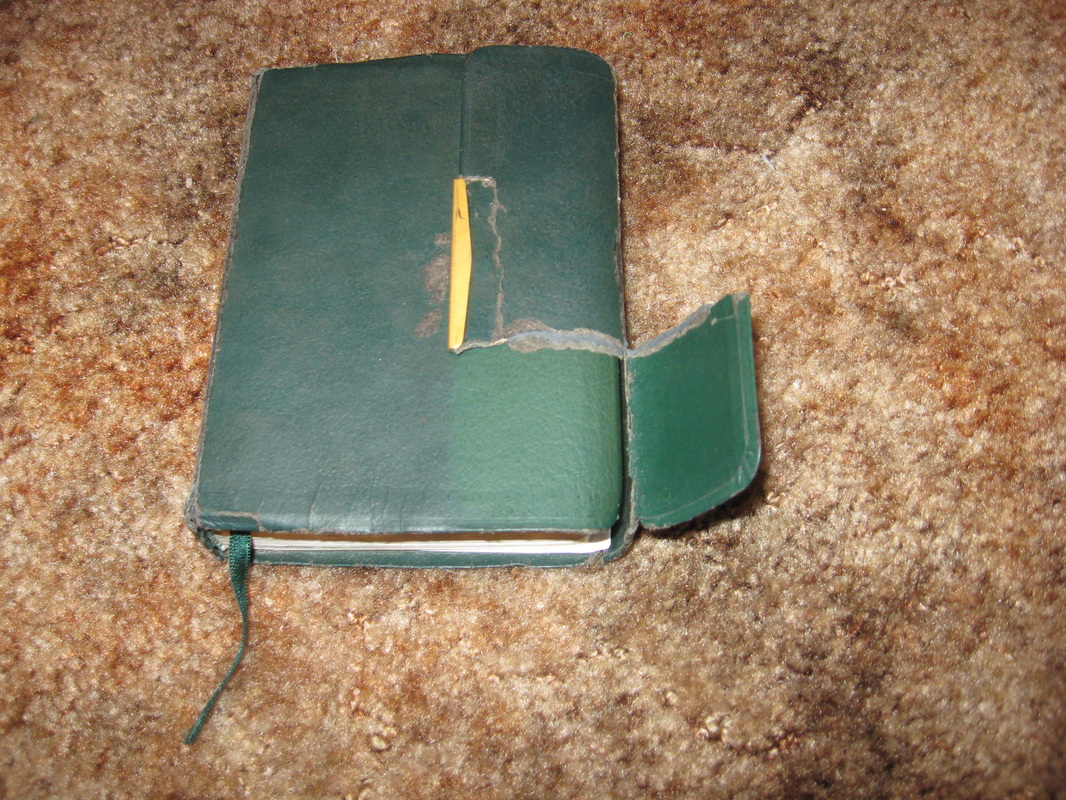
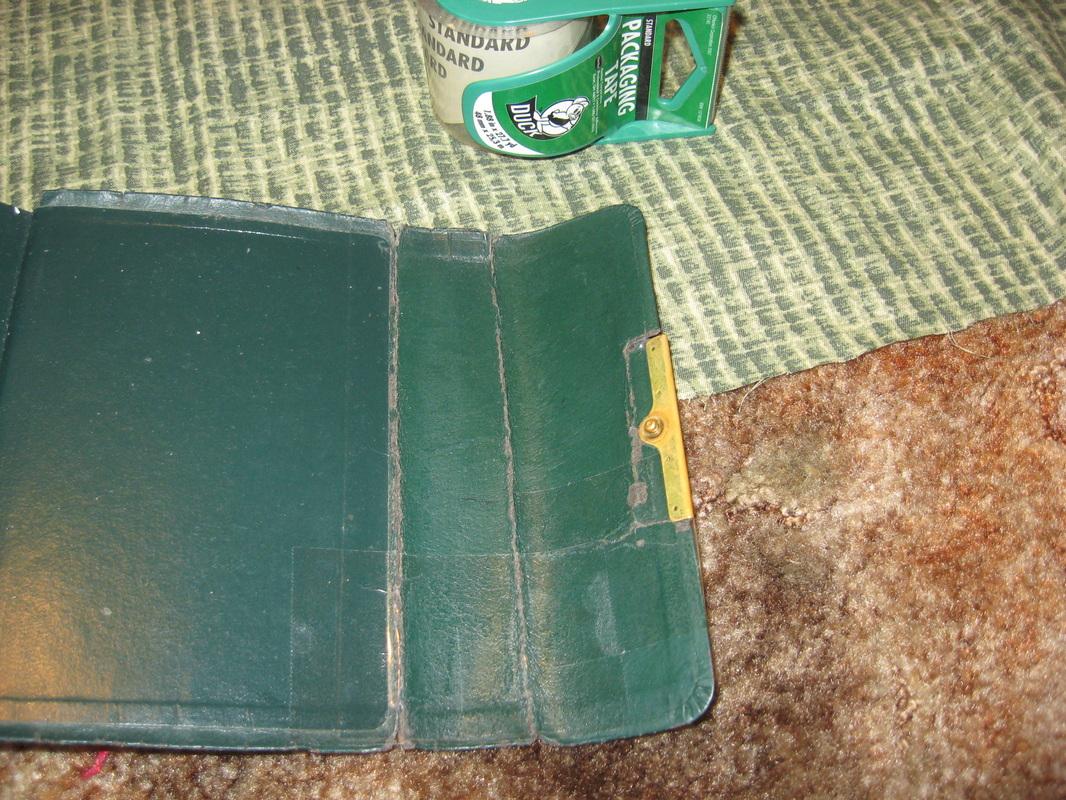
See how bad it was!!!
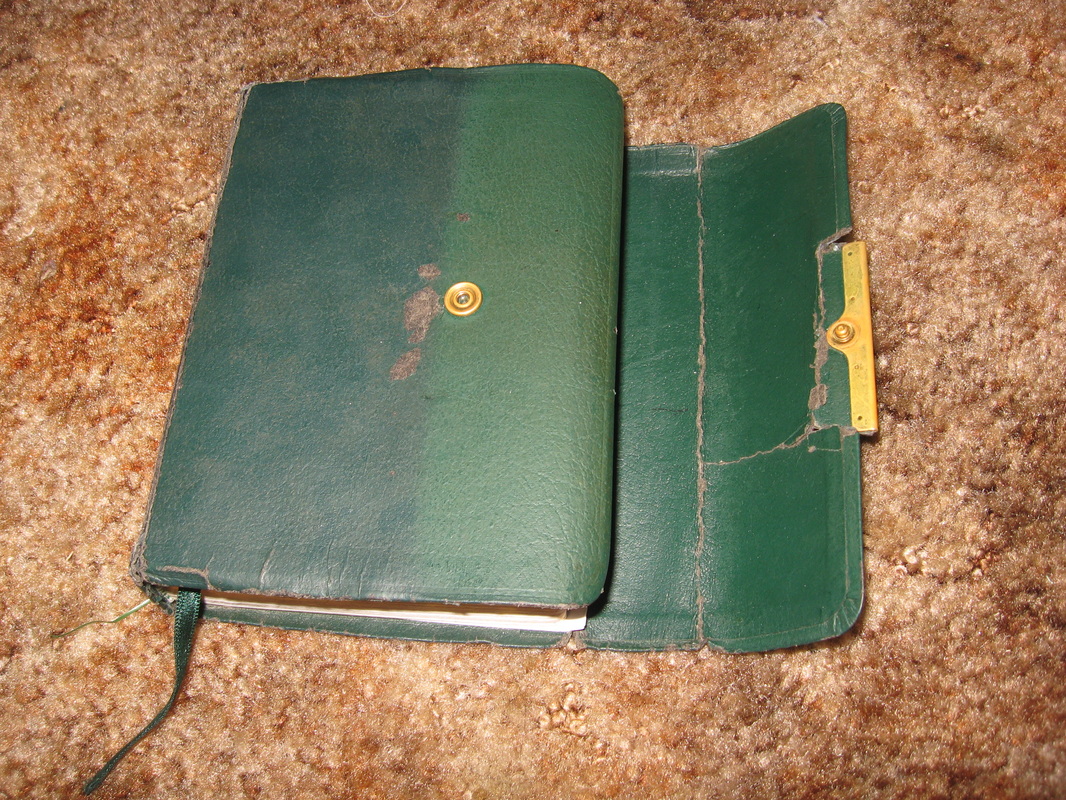 |  |  |
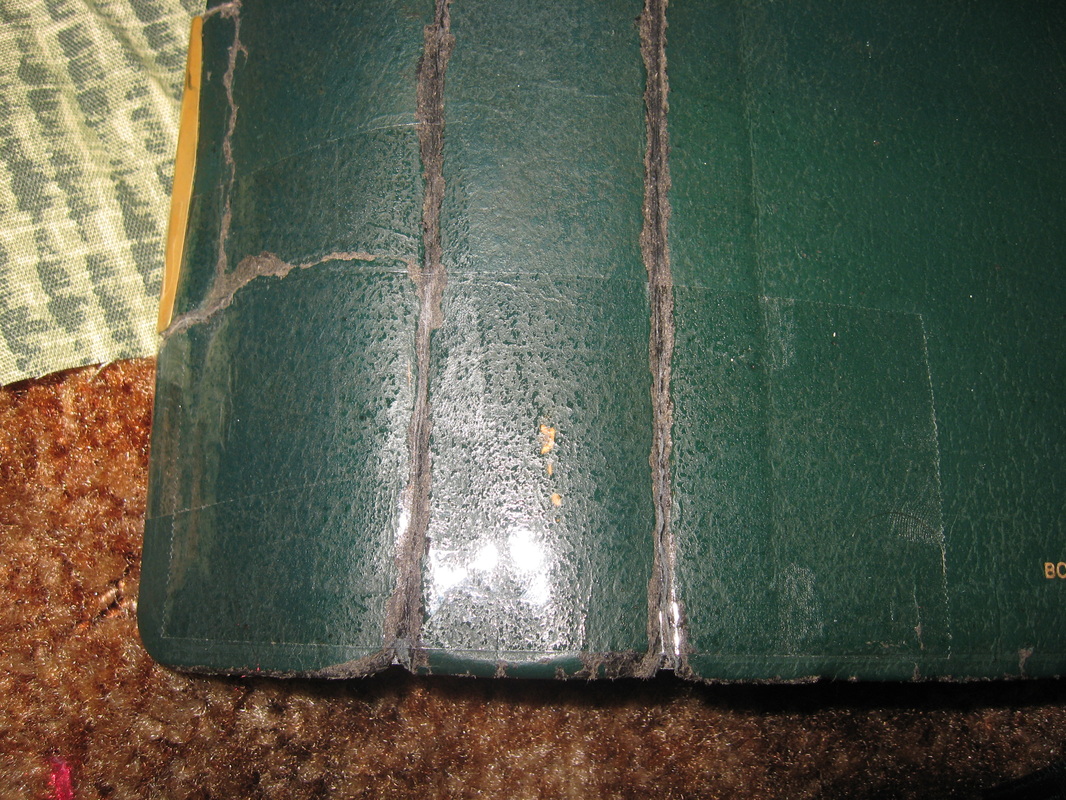
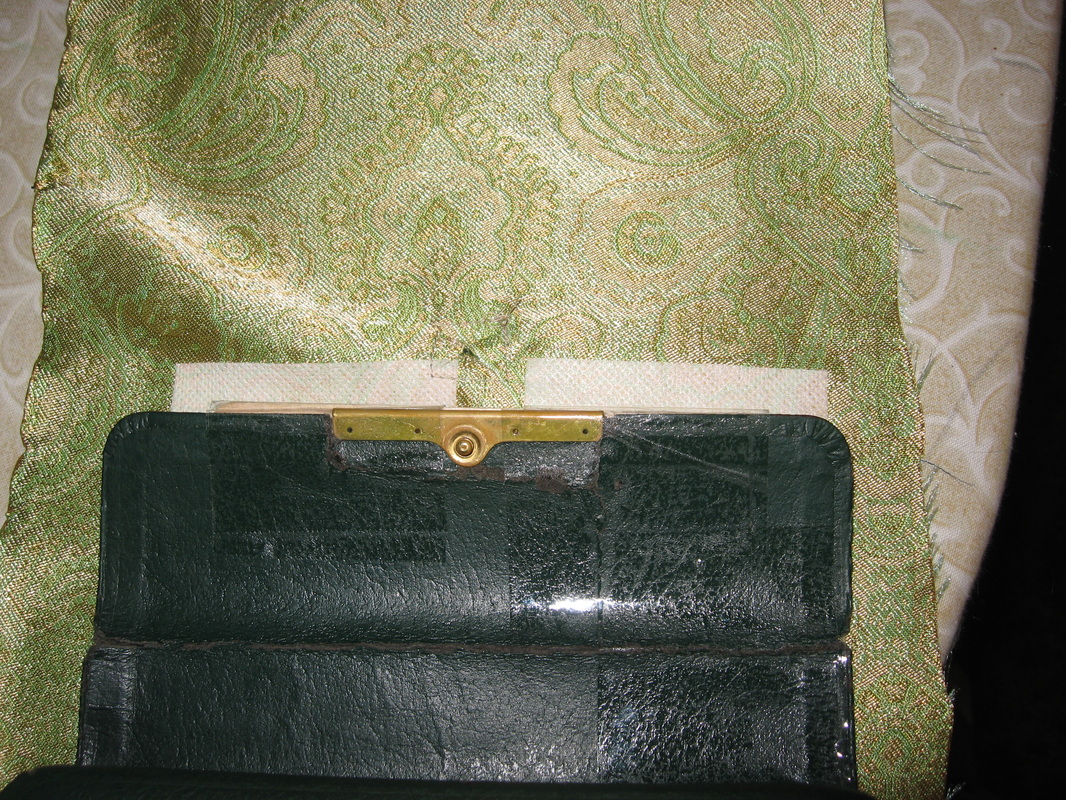
I taped up the broken parts.
 |  |
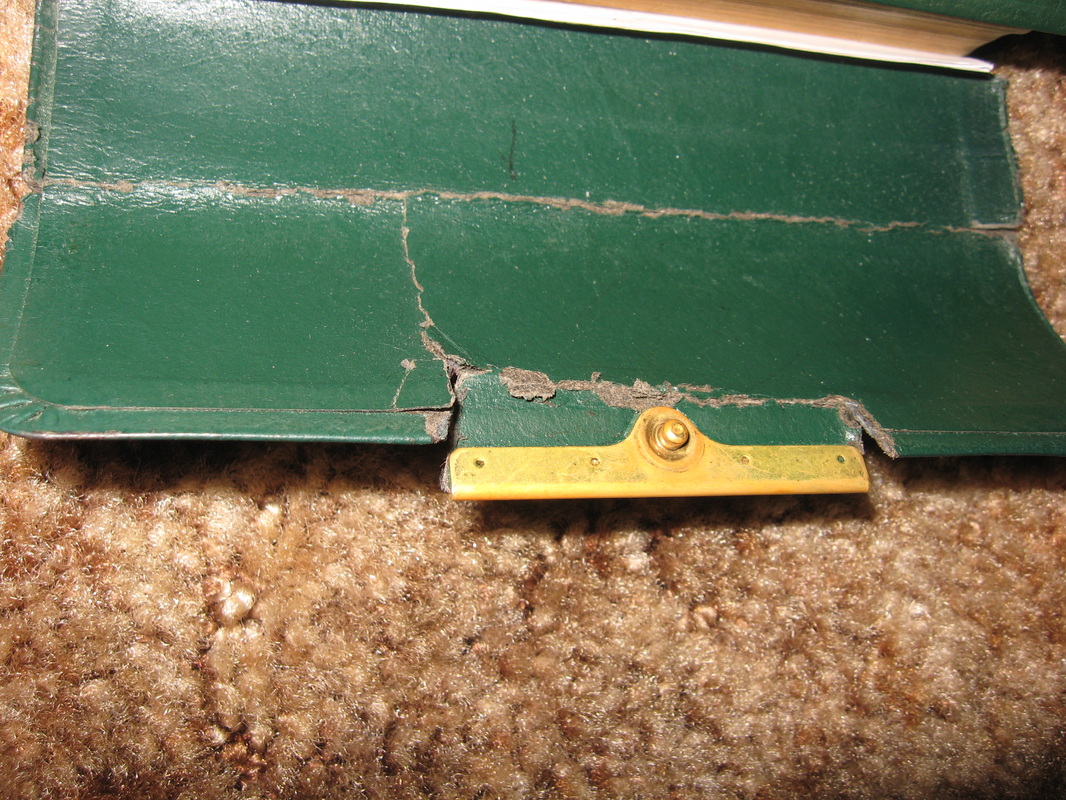
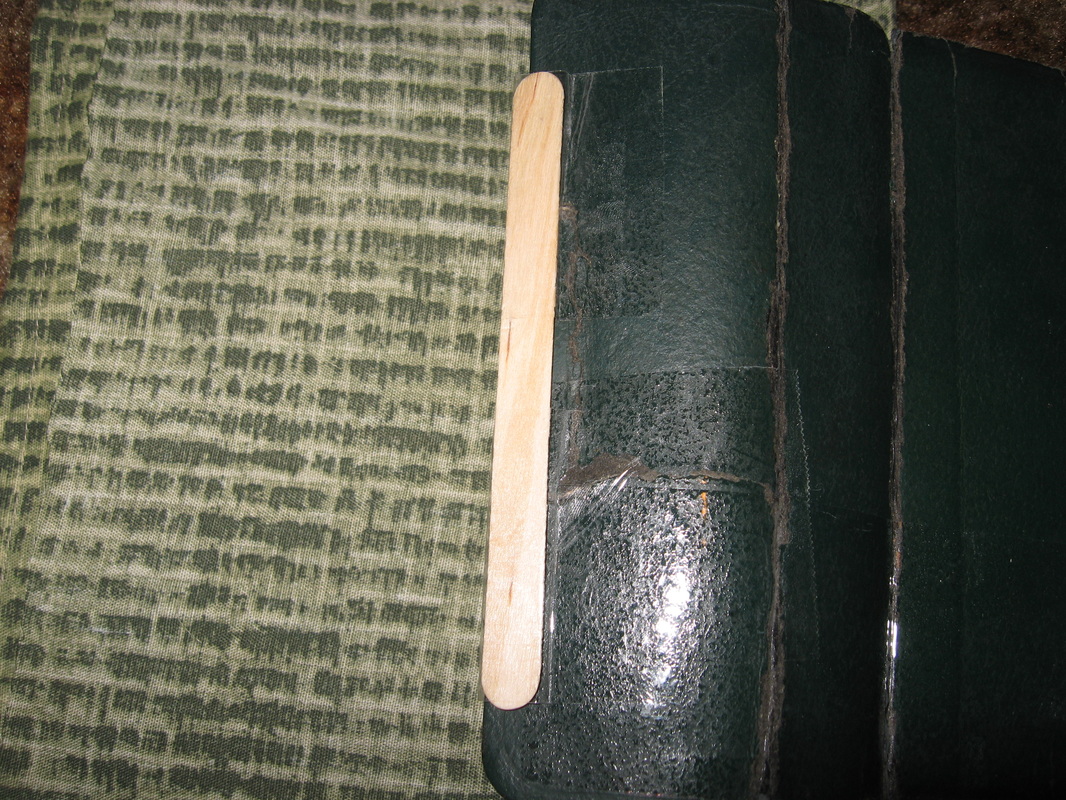
Then I taped a popsicle stick to the outside of the flap.
 |  |
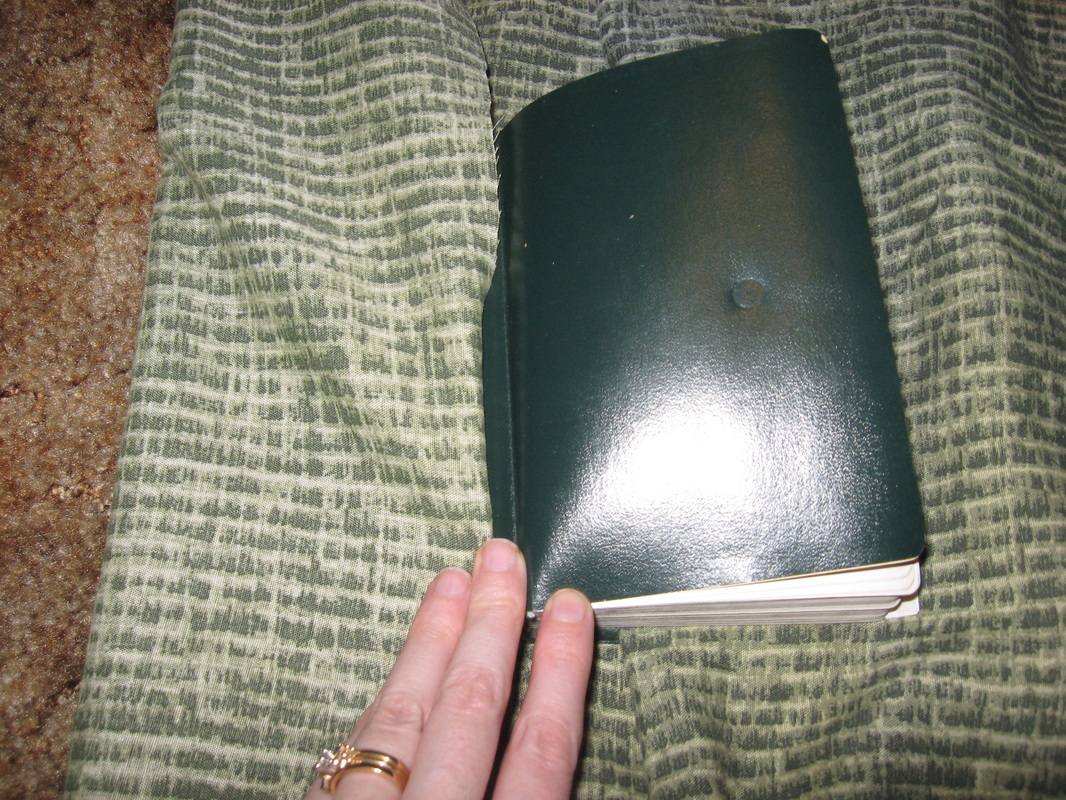
Then I did a lot of stuff... :-/
 |  |
Clearly I didn't have a clue what I was doing, so fat chance of me being able to explain it all NOW! But that didn't deter me. I still had several ideas of how to get this thing done.
 |  |
This really isn't working.
 |  |
Time to break out my secret weapon!
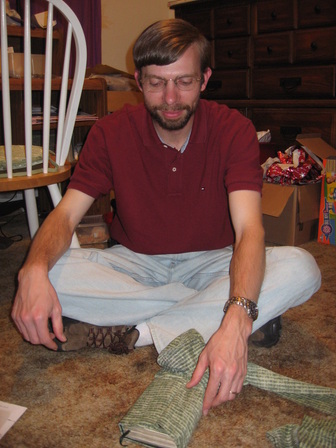
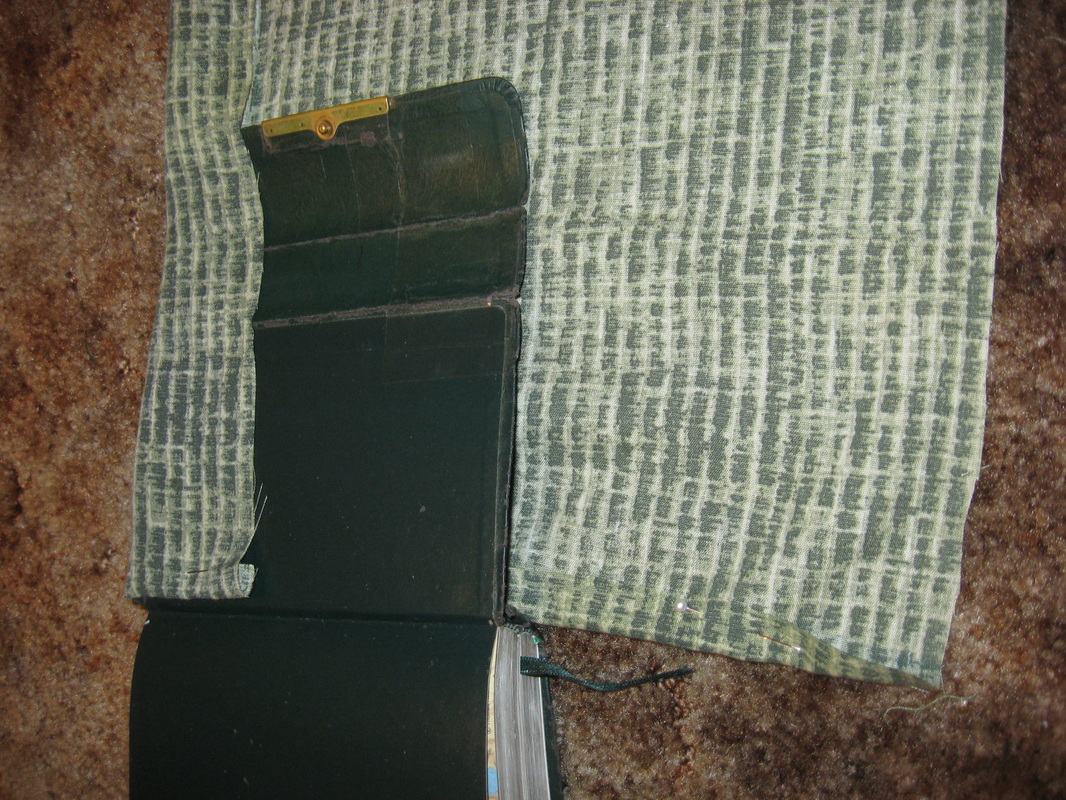
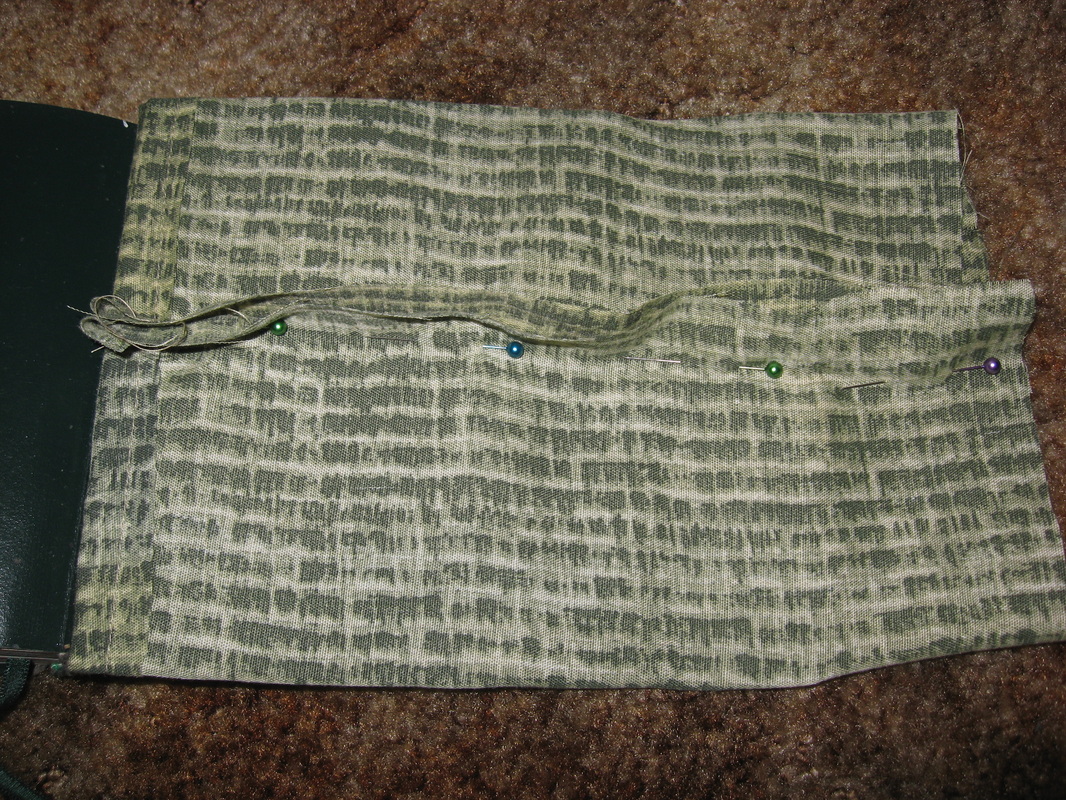
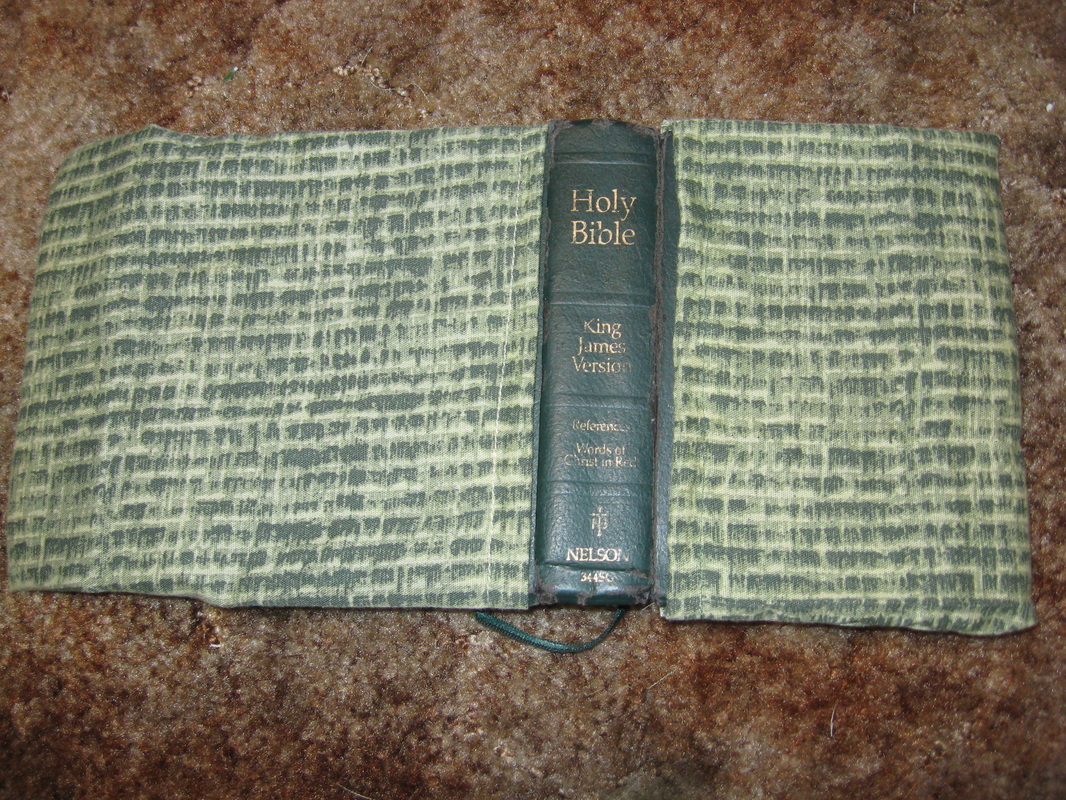
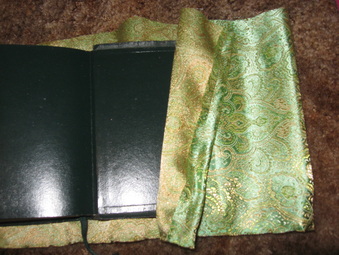
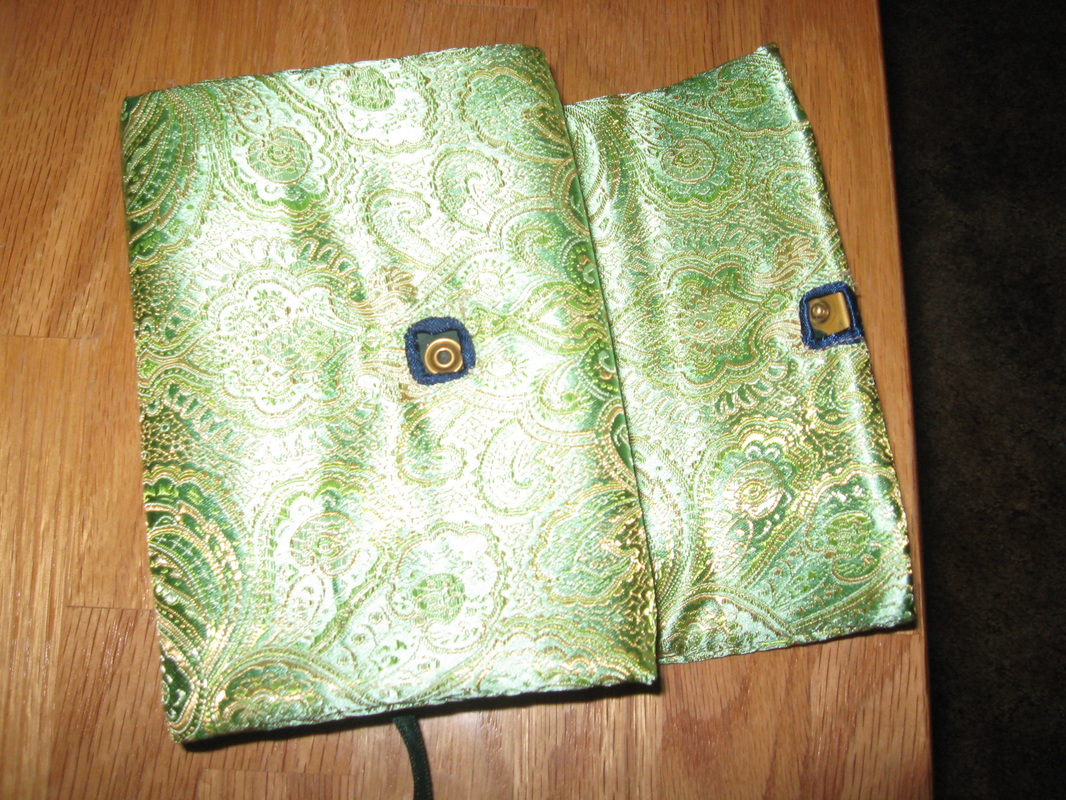
It absolutely amazes me that I can spend an hour wrangling this fabric every which way and I'm more confused at the end than I was when I started, and he can come in, flip it over a couple times in his hands, and BOOM, pattern magically produced. I'm gonna leave these next couple of pictures big, so you can see what I did. The fabric starts on the inside of the front cover, wraps around the entire Bible, and ends on the inside of the back cover.
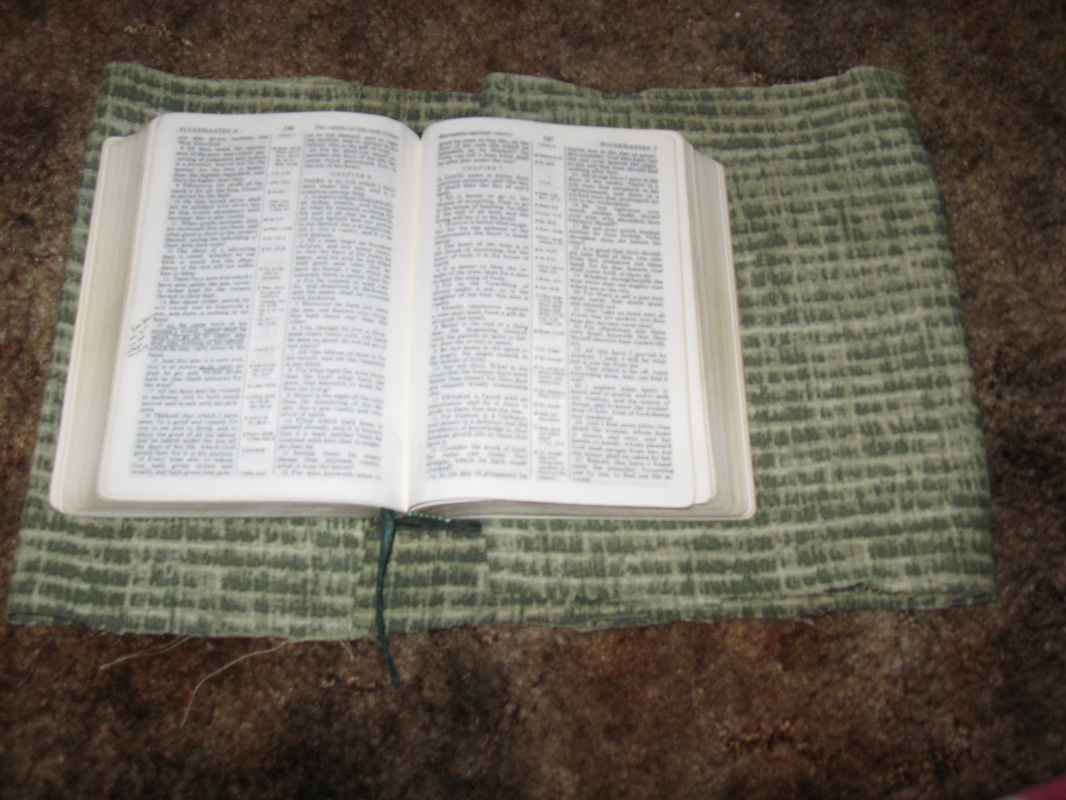
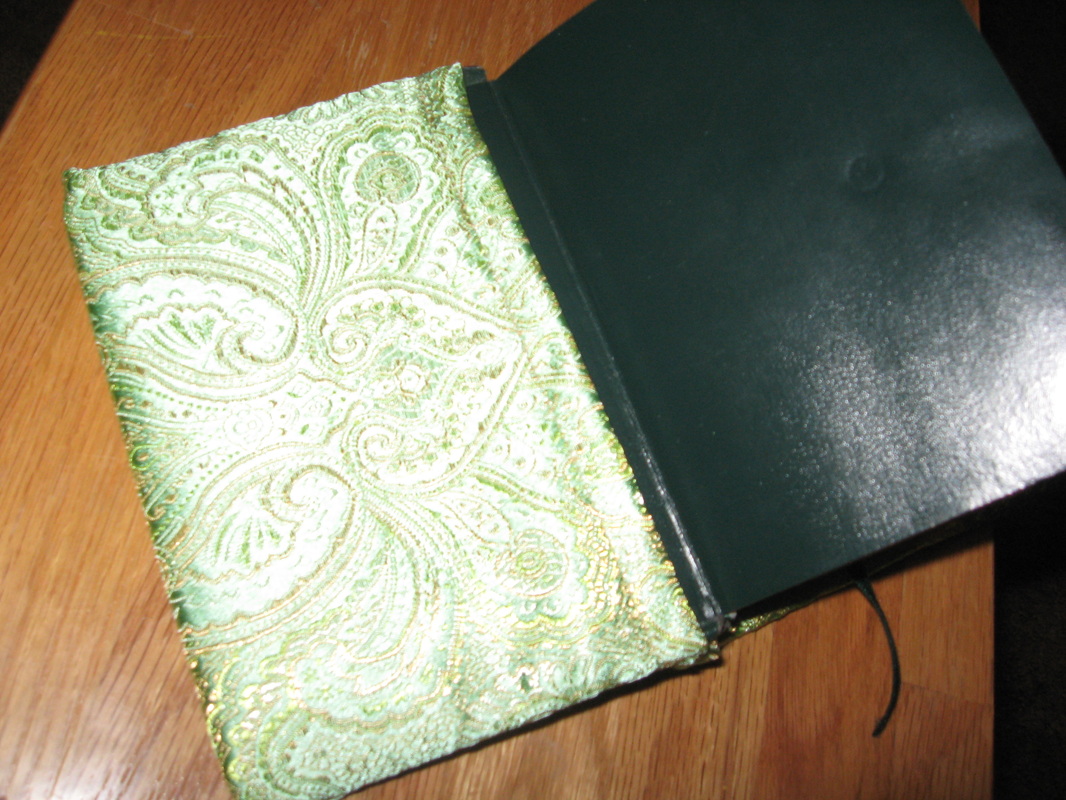
I sewed it like that and turned it right-side out to slip back on my Bible.
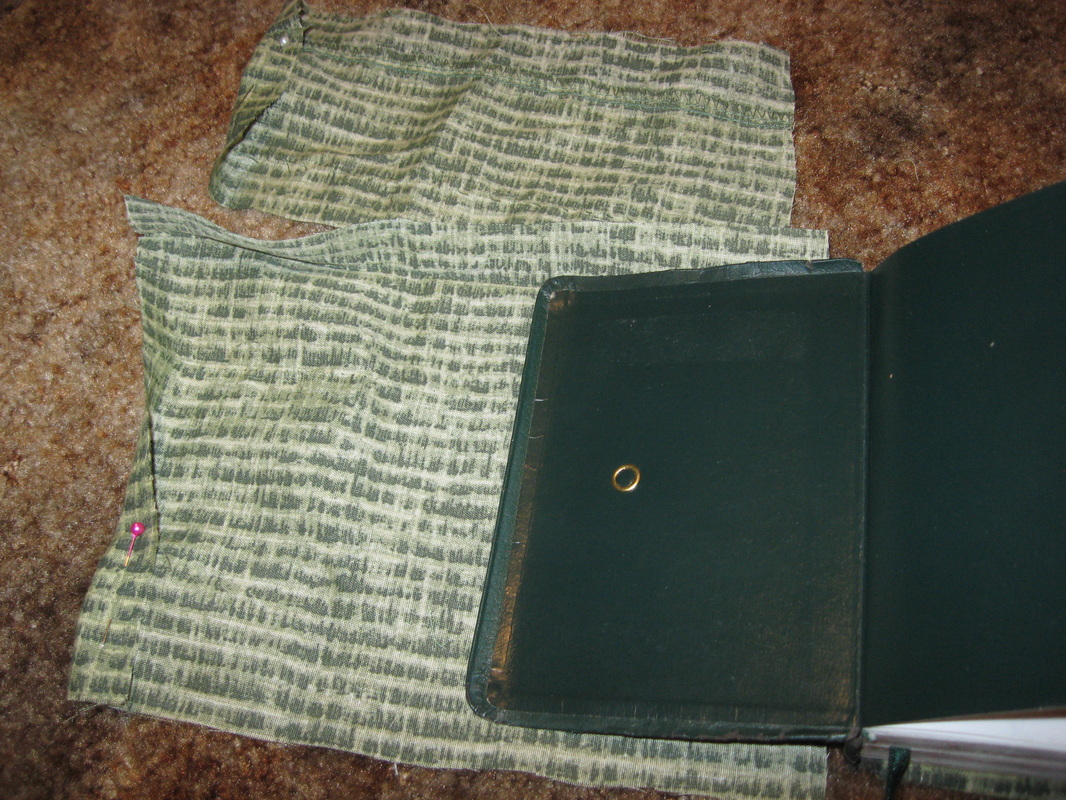
So nice! Now you could sew a tie, or sew a hole and a button, or leave it as is...I have a snap on my actual Bible and wanted to use it.
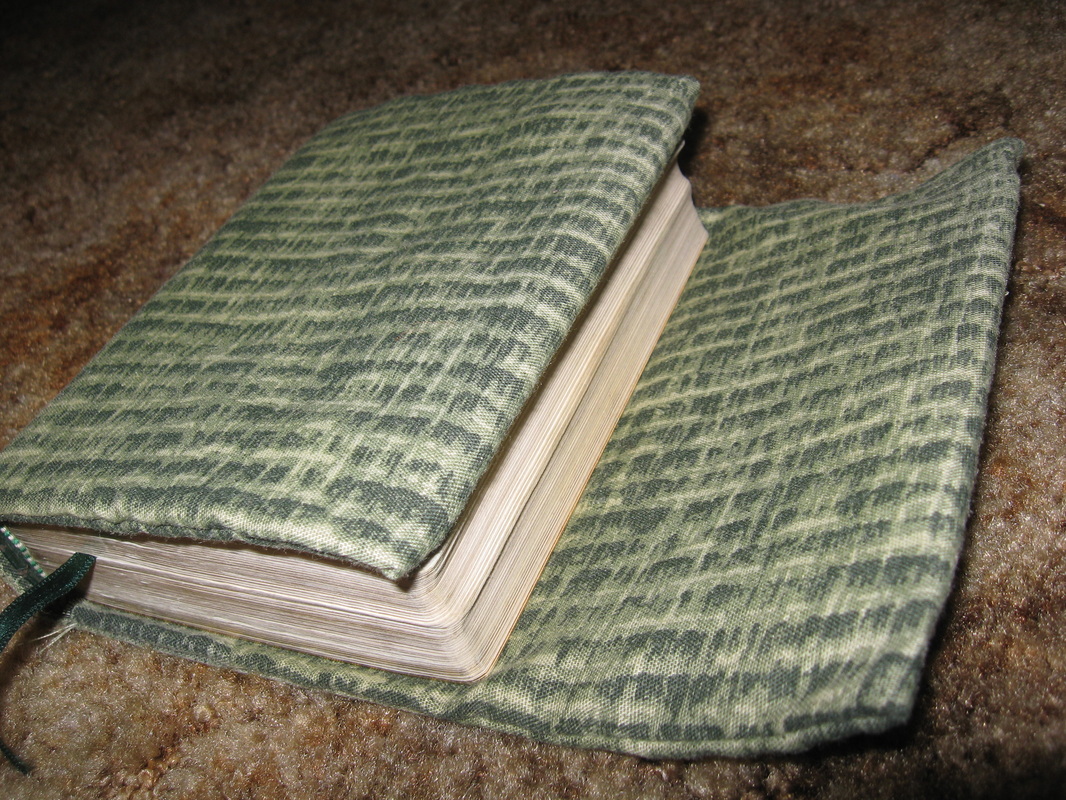
I cut a piece from the extra fabric to put on the back, so I could sew along the opening with a hem. I think...Click on these pictures to see them bigger.
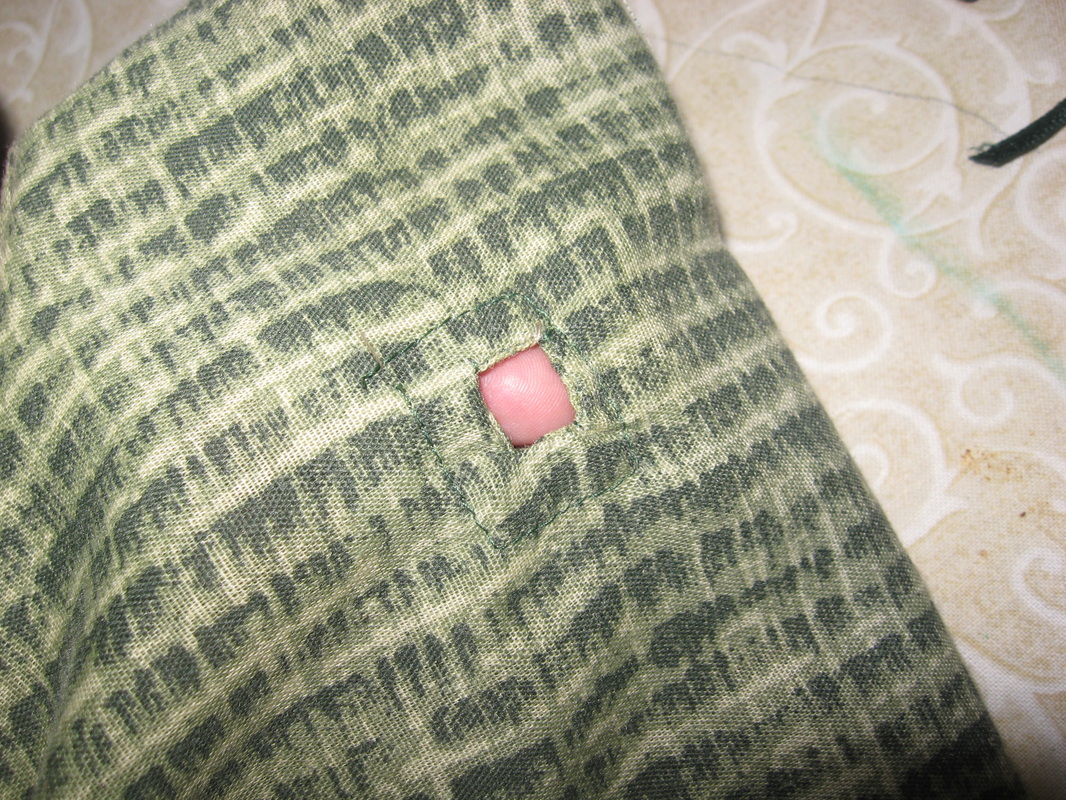 |  |
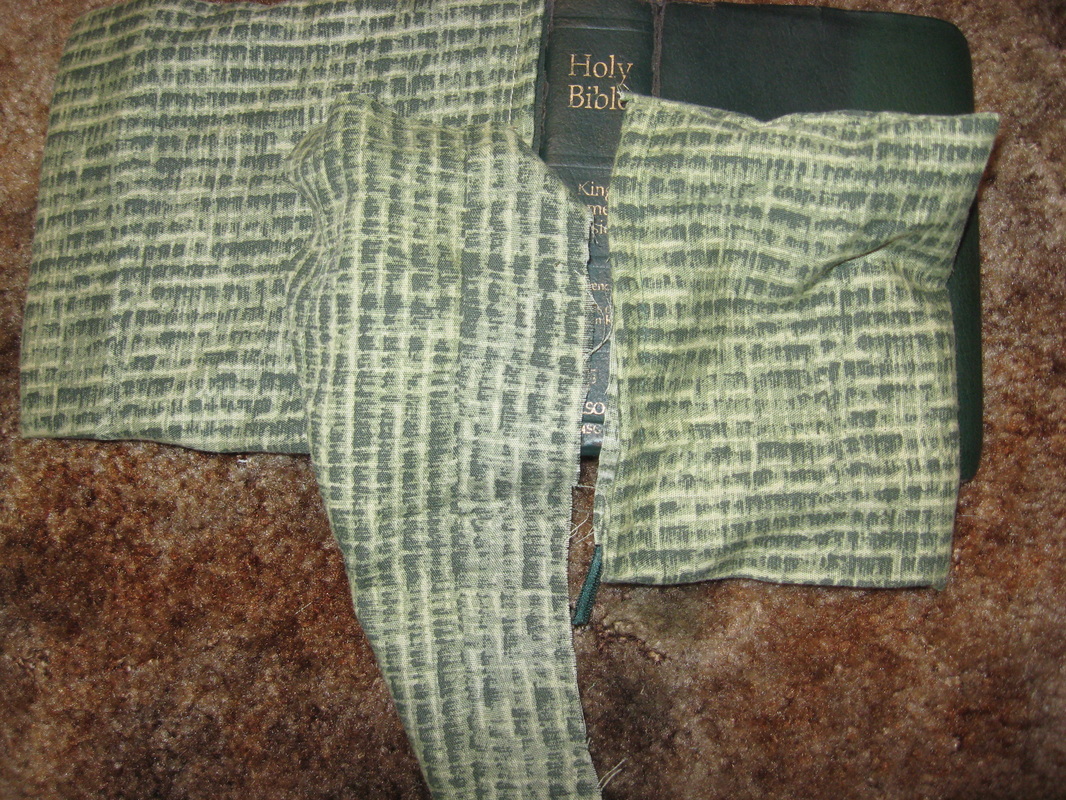
I did it twice, once for the snap, and once for the snap hole.
Ah, all that to do it again on the fabric I actually wanted as my cover!
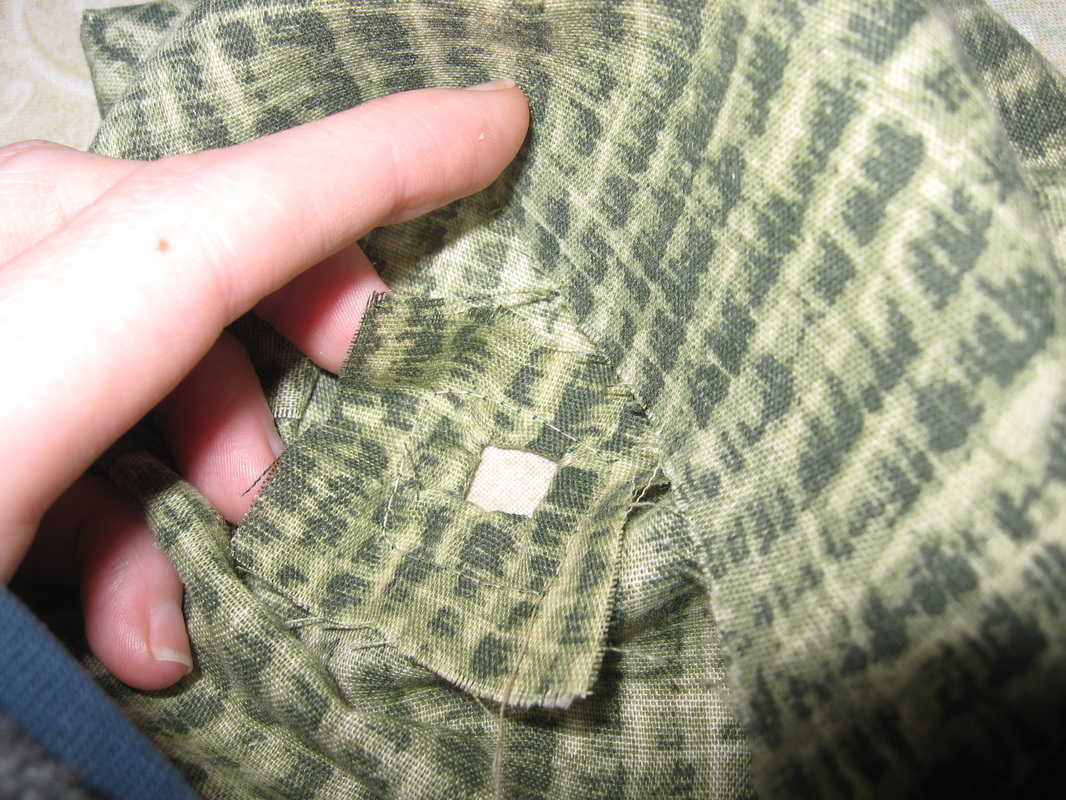
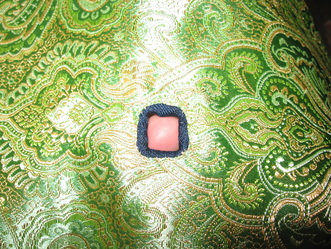
For this, I just used a different piece of fabric, since I didn't have a lot of extra green. Sew your blue fabric on the front of the green, like so.

Cut the hole open.
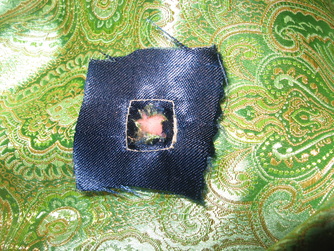
Push the blue material down inside the hole and sew again.
This is what the inside looks like: (Ha, I actually do know what I did there!)
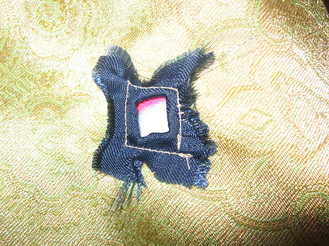
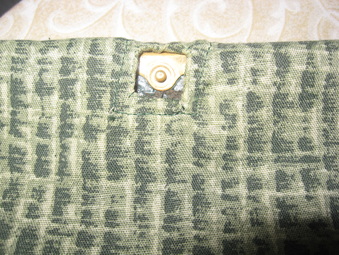
I also apparently used this interfacing thing to put...by the snap...for probably a very good reason...
 |  |
Anyway, I just sewed up all the edges like I did with my practice fabric, and here it is!
In all its shining splendor!
After it was all finished, I realized I should have made the snap holes larger, because it doesn't stay snapped closed.
So then ensued weeks of finding magnets that were strong enough to glue on the back of the flap and the inside of the front cover, and finding glue that would bond them permanently. I did eventually find six nice magnets of appropriate strength, but after about 6 months the glue wore out (or something). I now have one pair of magnets that still work, but I'm careful and it does do the job. Looking back at all these pictures made me realize that I should probably give my cover a good washing...
 RSS Feed