I found this cool length of fabric. I don't remember when I got it, but on one side it has "Jo-Ans Fabrics" printed on it, so I can guess where I got it. I was looking in my stash for a good backing, and I saw these two fleece blankets I got when I flew Delta Airlines this past summer. Perfect! I pinned the two fabrics together, but the fleece blanket was too short, so I had to sew the two blankets together.
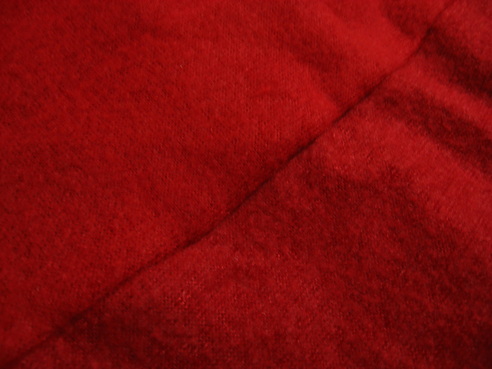
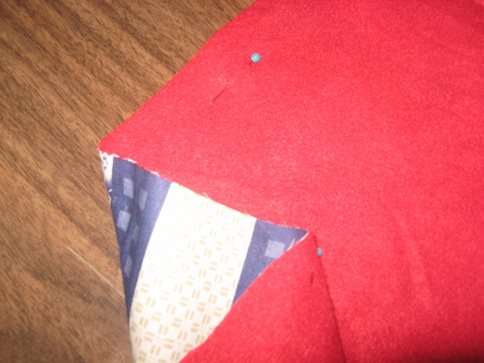
You can't really tell that there's this long seam in the not-so-middle of the back. So then I pinned the blankets and the fabric together.
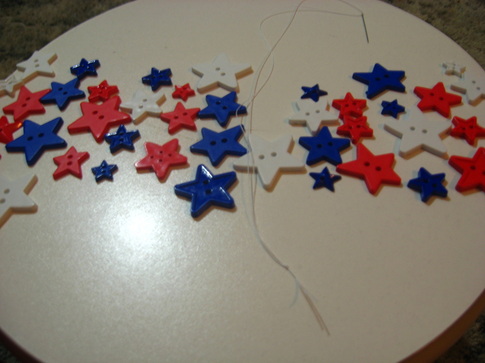
I cut the top and bottom of the blanket down to the same size as the fabric, but I wanted to wait before cutting the sides. I don't know why, I just felt like it. I bought this package of star-shaped buttons. In addition to these red, white, and blue buttons, the package also had a light blue, orange, green, and purple. One day I'll come up with a project to use them. Oh, I also bought this button thread. It is so strong! I love it.
It took me forever to figure out a pattern to put the buttons on. Some stars are blue, some are red, but I also had white buttons. It took a lot of repositioning and redesigning, but eventually I came up with this design (minus the two red buttons I had already sewed [sewn?] on when I took the picture):
It took me forever to figure out a pattern to put the buttons on. Some stars are blue, some are red, but I also had white buttons. It took a lot of repositioning and redesigning, but eventually I came up with this design (minus the two red buttons I had already sewed [sewn?] on when I took the picture):
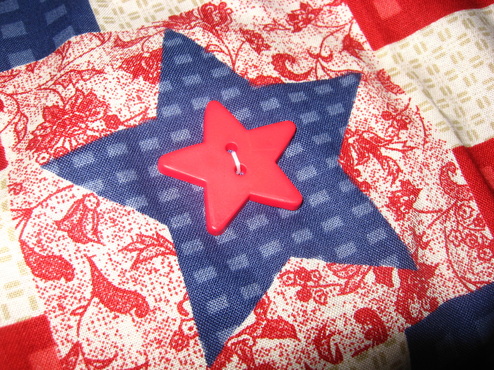
I sewed all the buttons on. Because the thread was so strong, I only did one loop. I don't think the buttons are going anywhere, though. It took a surprisingly short time to sew all 42 buttons on.
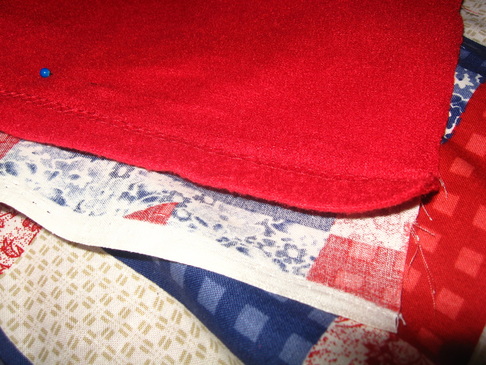
I laid it all out and pinned the edges, then I had to decide where to cut. I thought at first I could just fold the fabric over the blanket, but some places along the edge the materials were too close to each other. I also ended up re-trimming the sides I had already cut.

Trimmed edges:
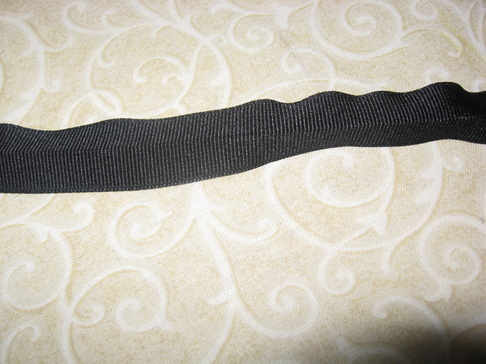
I got some ribbon from Michaels. It was a little thinner than I would have liked, but the wider ribbon cost an arm and a leg, and this ribbon just cost a couple toes. I ironed it folded so it would be easier to wrap around the edge of the quilt.
Then I pinned it on, all almost 7 yards. That was time-consuming.
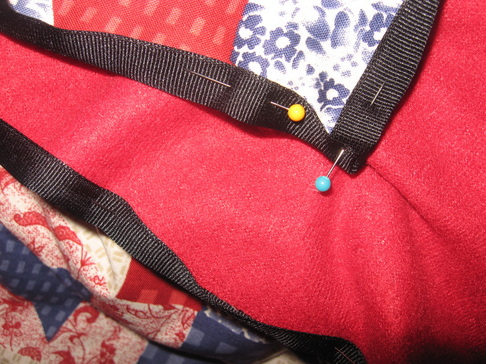
Ta-da!

 RSS Feed